Observation Phases are required to systematically evaluate a resident’s care needs, serving as the basis for official care classification and insurance reimbursement. They also ensure quality and structured care planning when a resident enters the home or when their condition changes significantly.
This article explains how you can perform Observation Phases, with simplified setup, clearer status indicators, and automatic caregiver reminders.
Resident → Monitor → Care Reports → Observation Phases
Open the Resident Profile
Go to the Resident List and select the resident for whom you want to start an Observation Phase.
Go to Observation Phases
In the resident profile, go to the Care Reports section.
The Observation Phase button is located at the top of the Care Reports overview table.
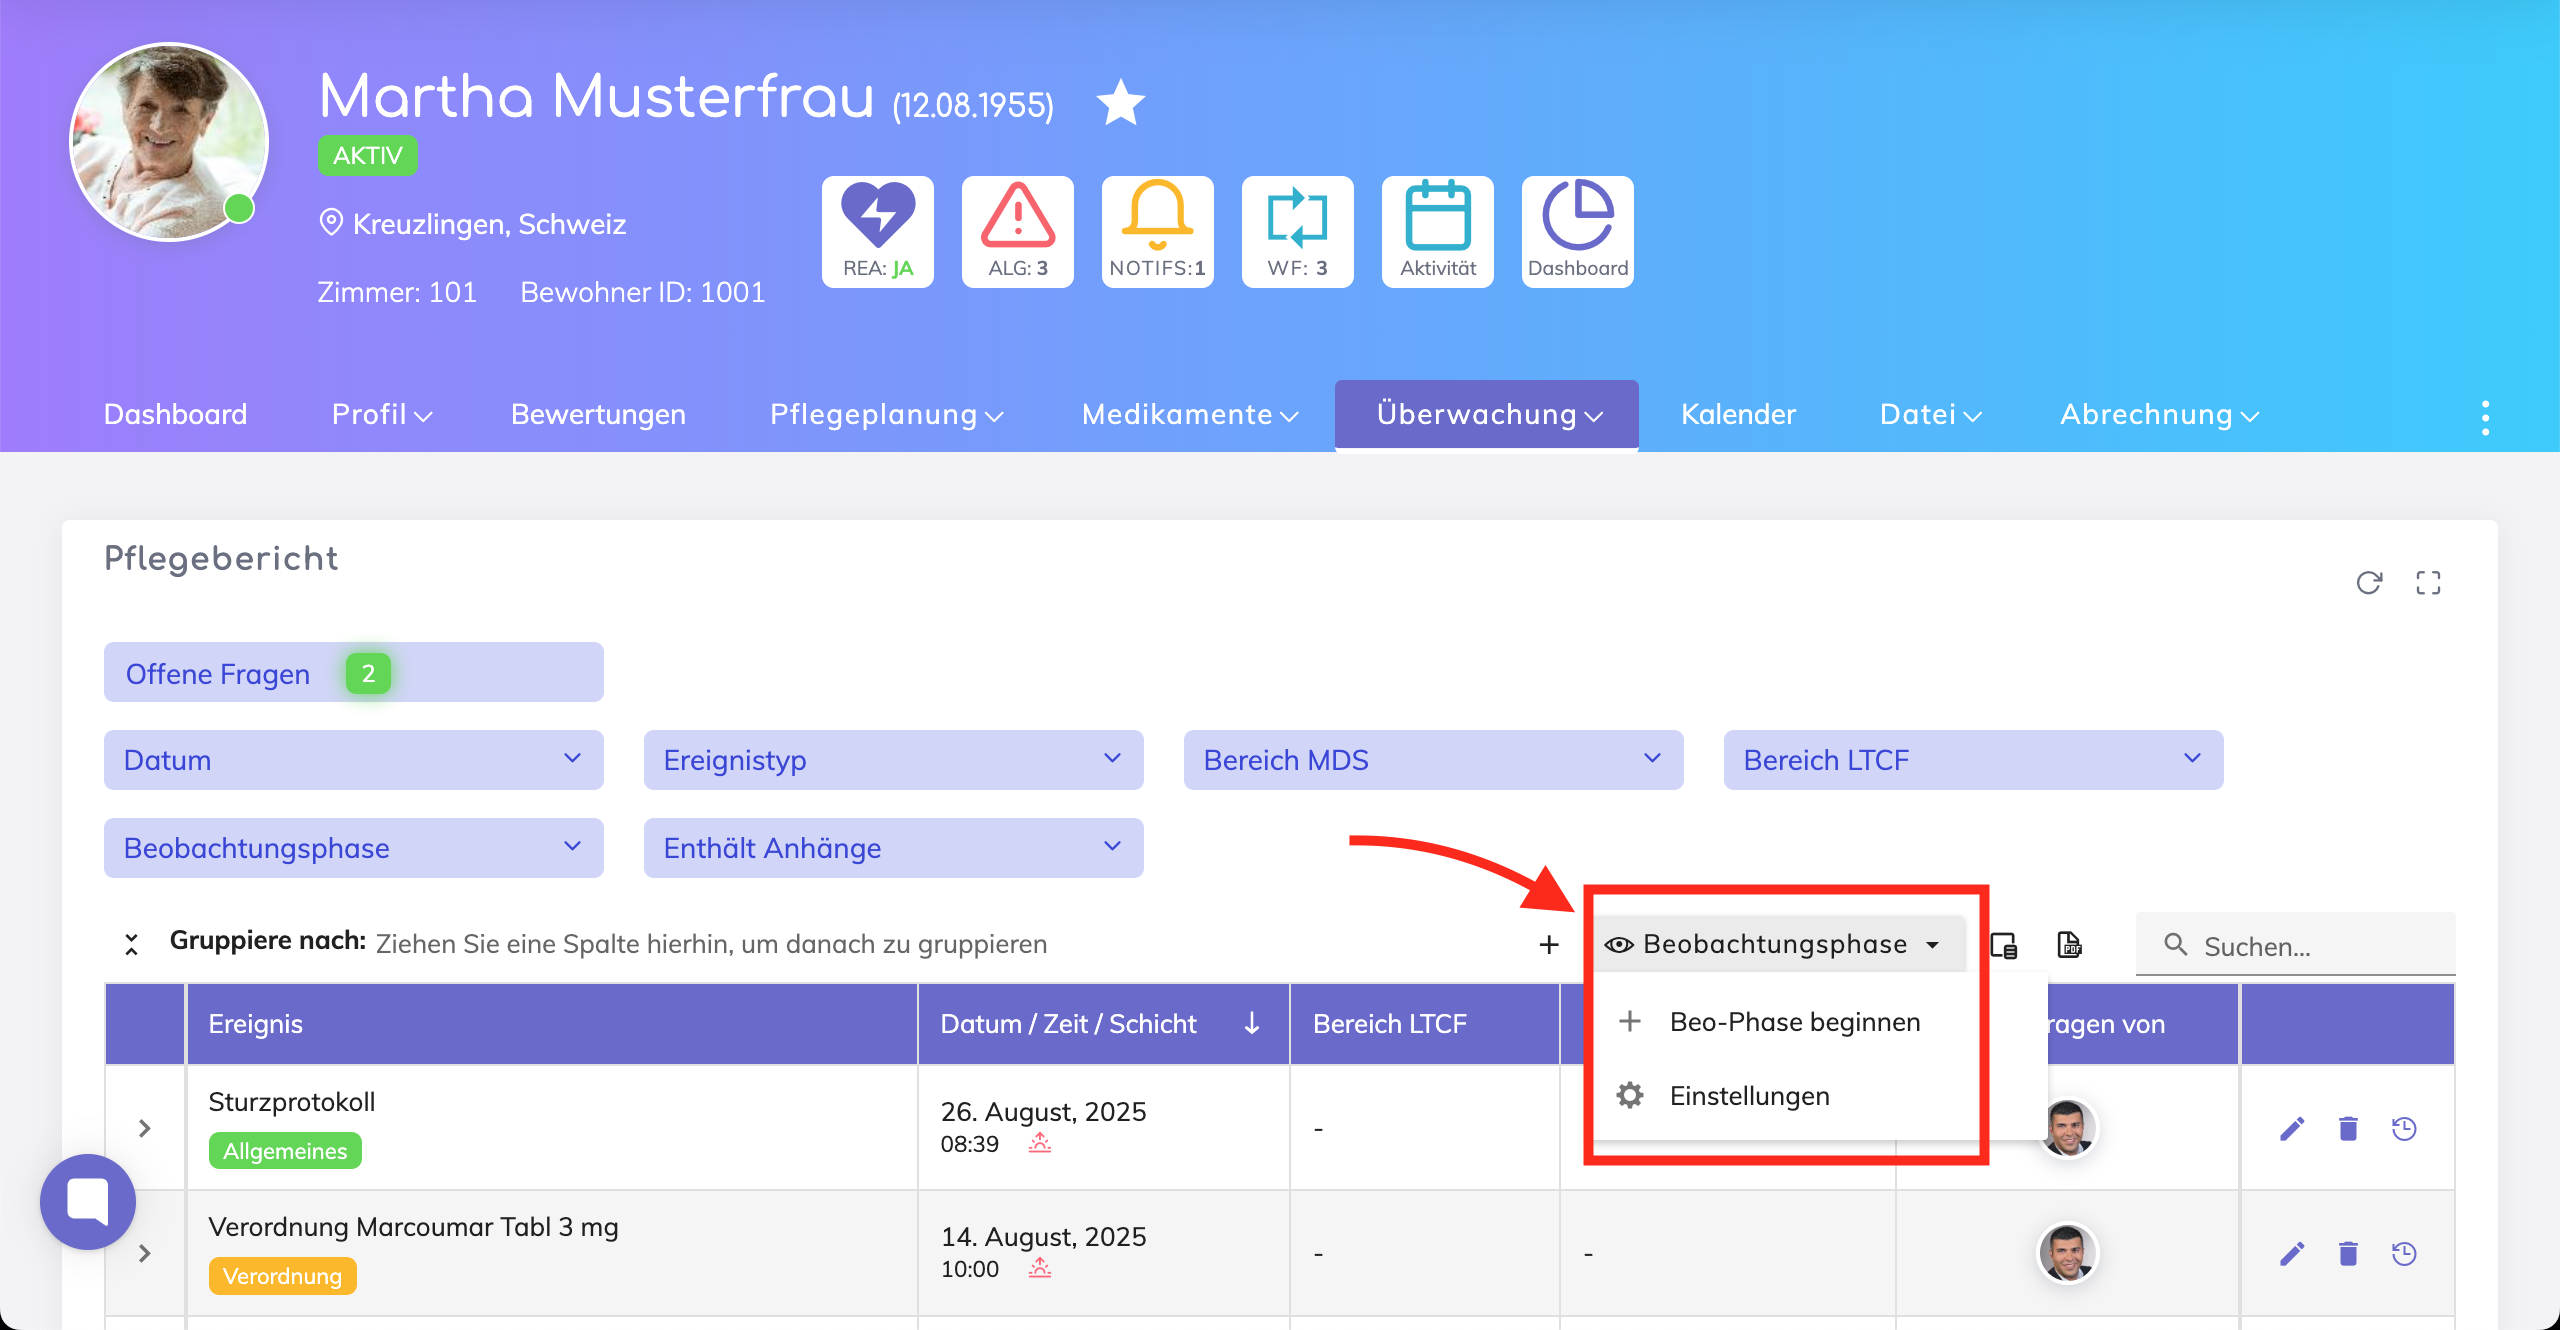
Click on “Start Observation Phase”
Enter the Start Date
A dialog window appears. Enter the Start Date for the Observation Phase.
This can be the current date or a future date.
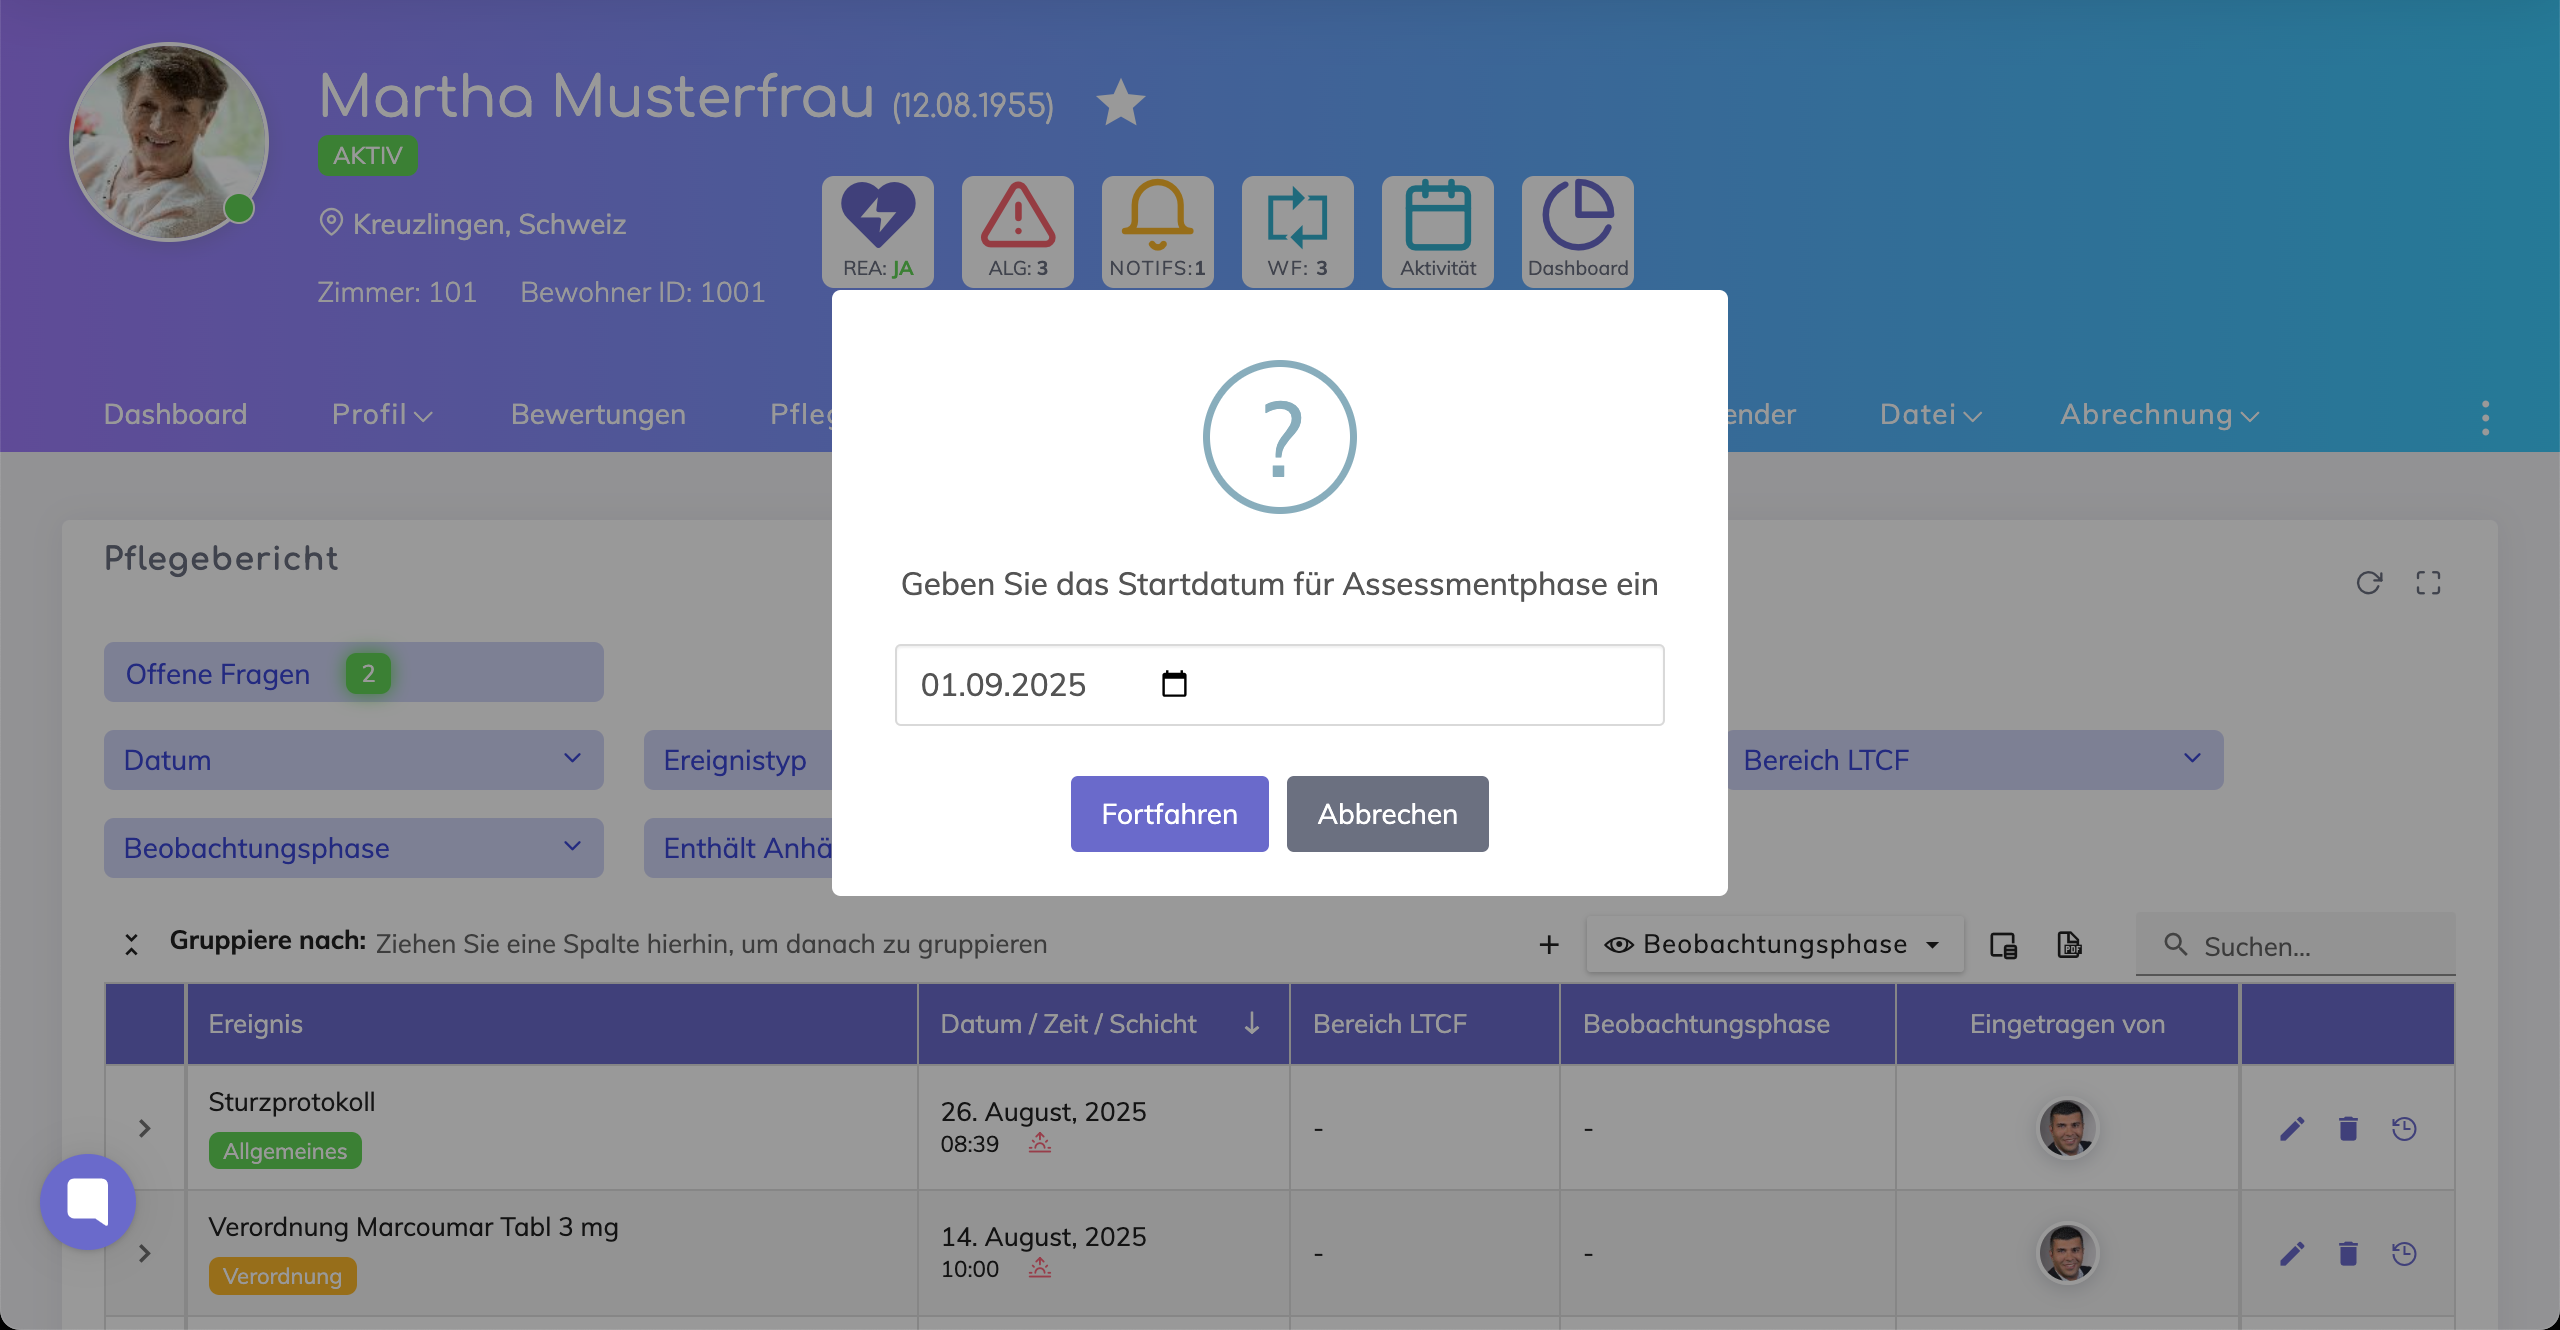
Confirm and Save
Click Proceed to confirm and save.
The Observation Phase will be created automatically.
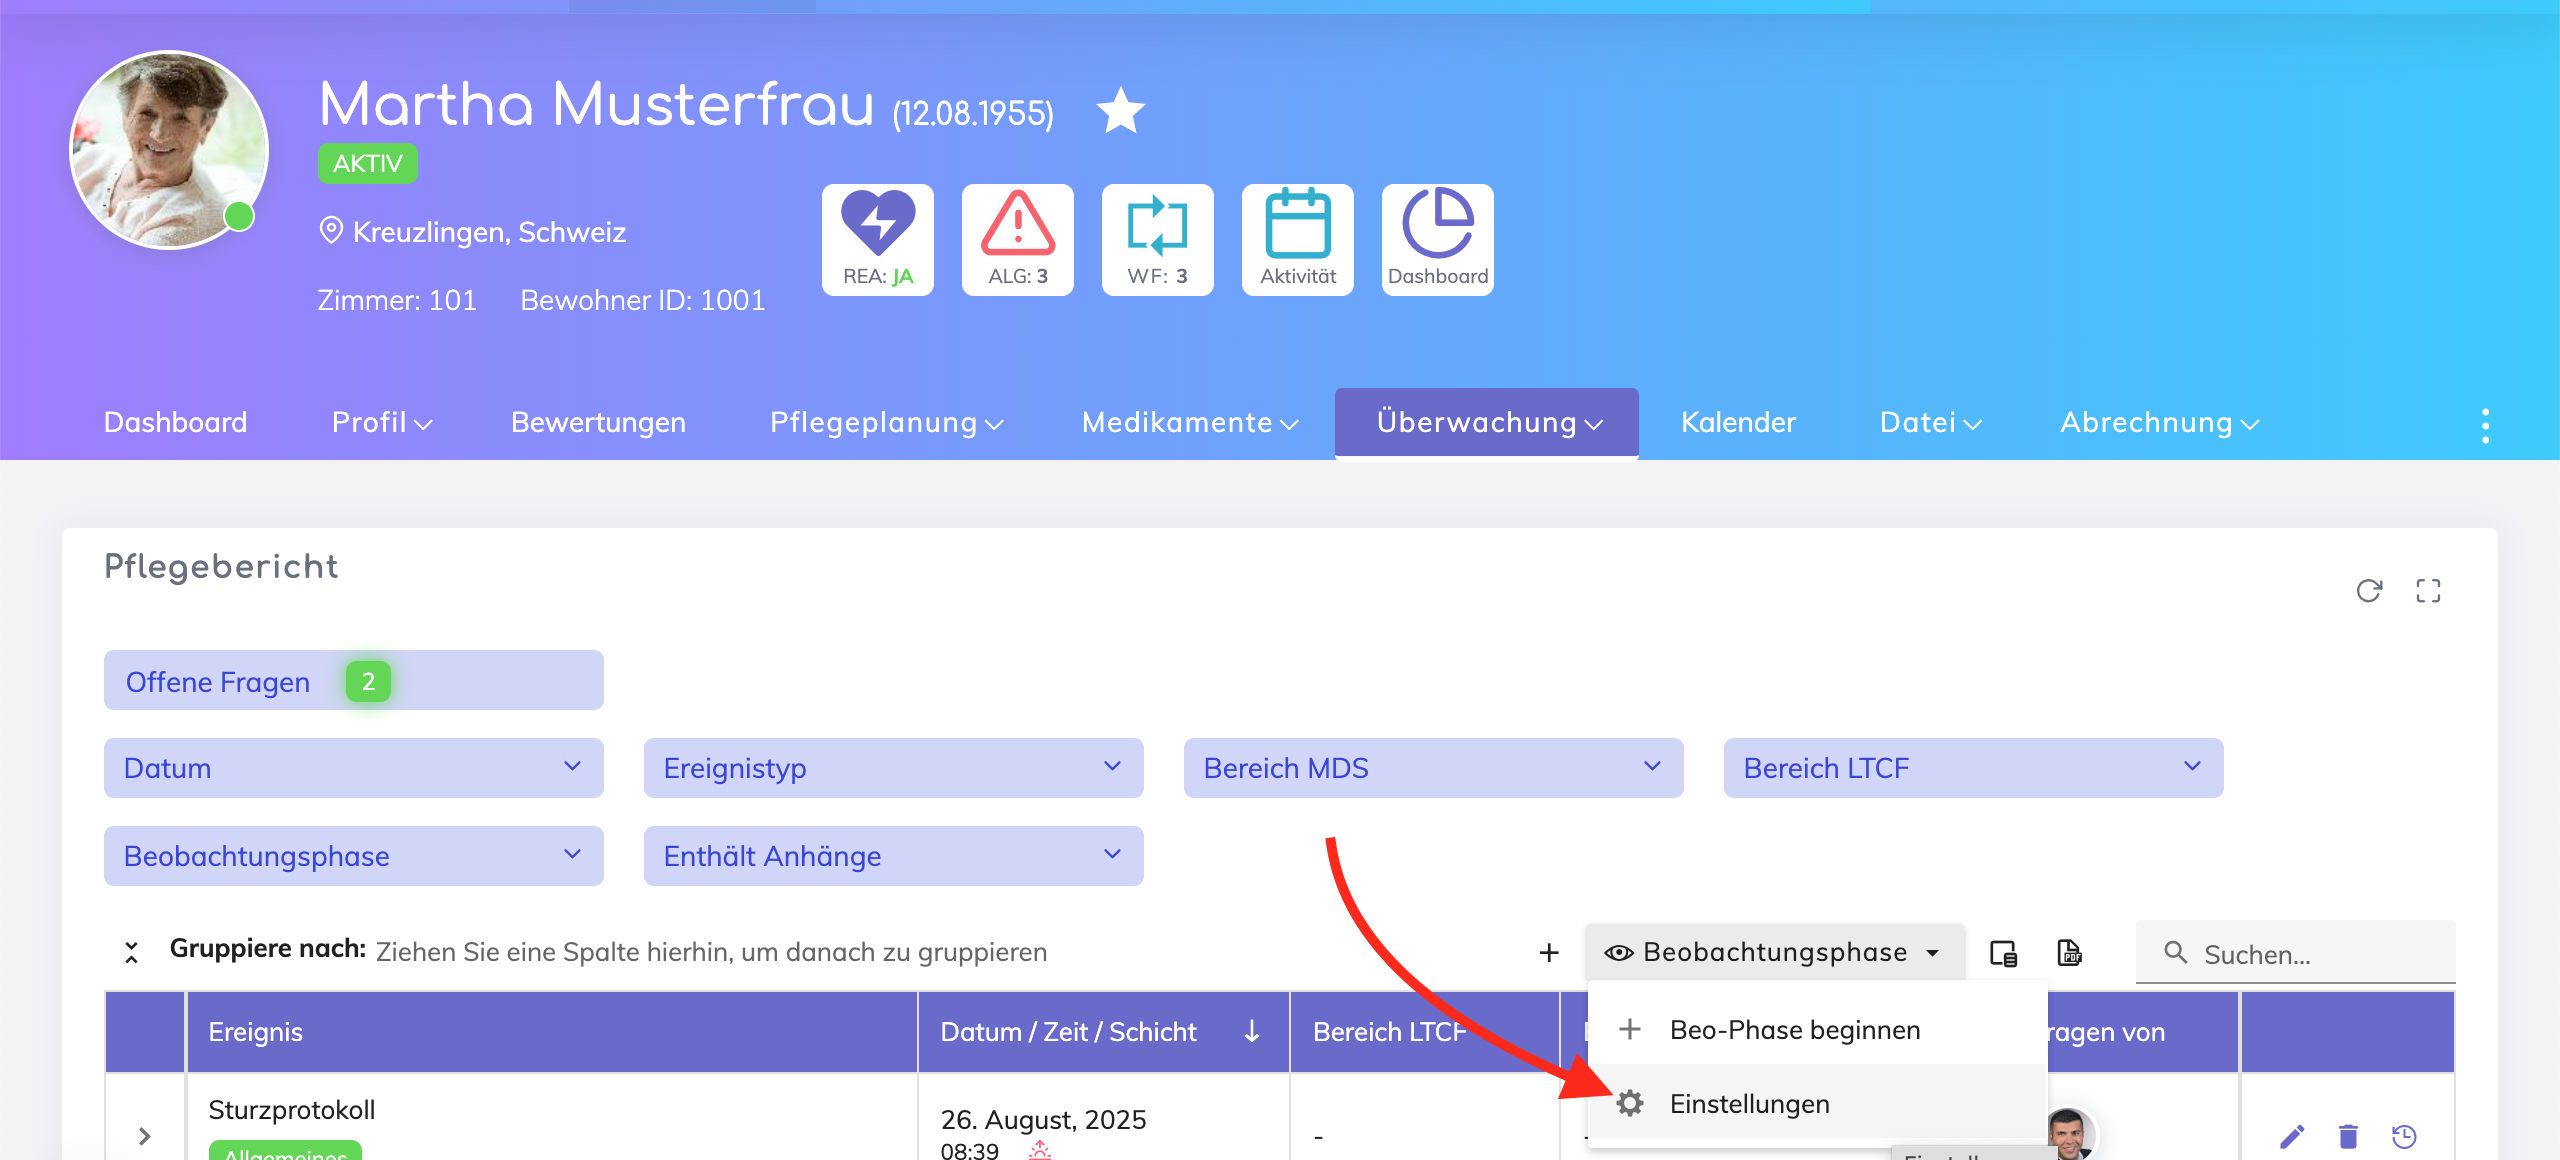
If the Resident is currently in the Observation Phase, then the eye icon appears on the profile header as shown below.

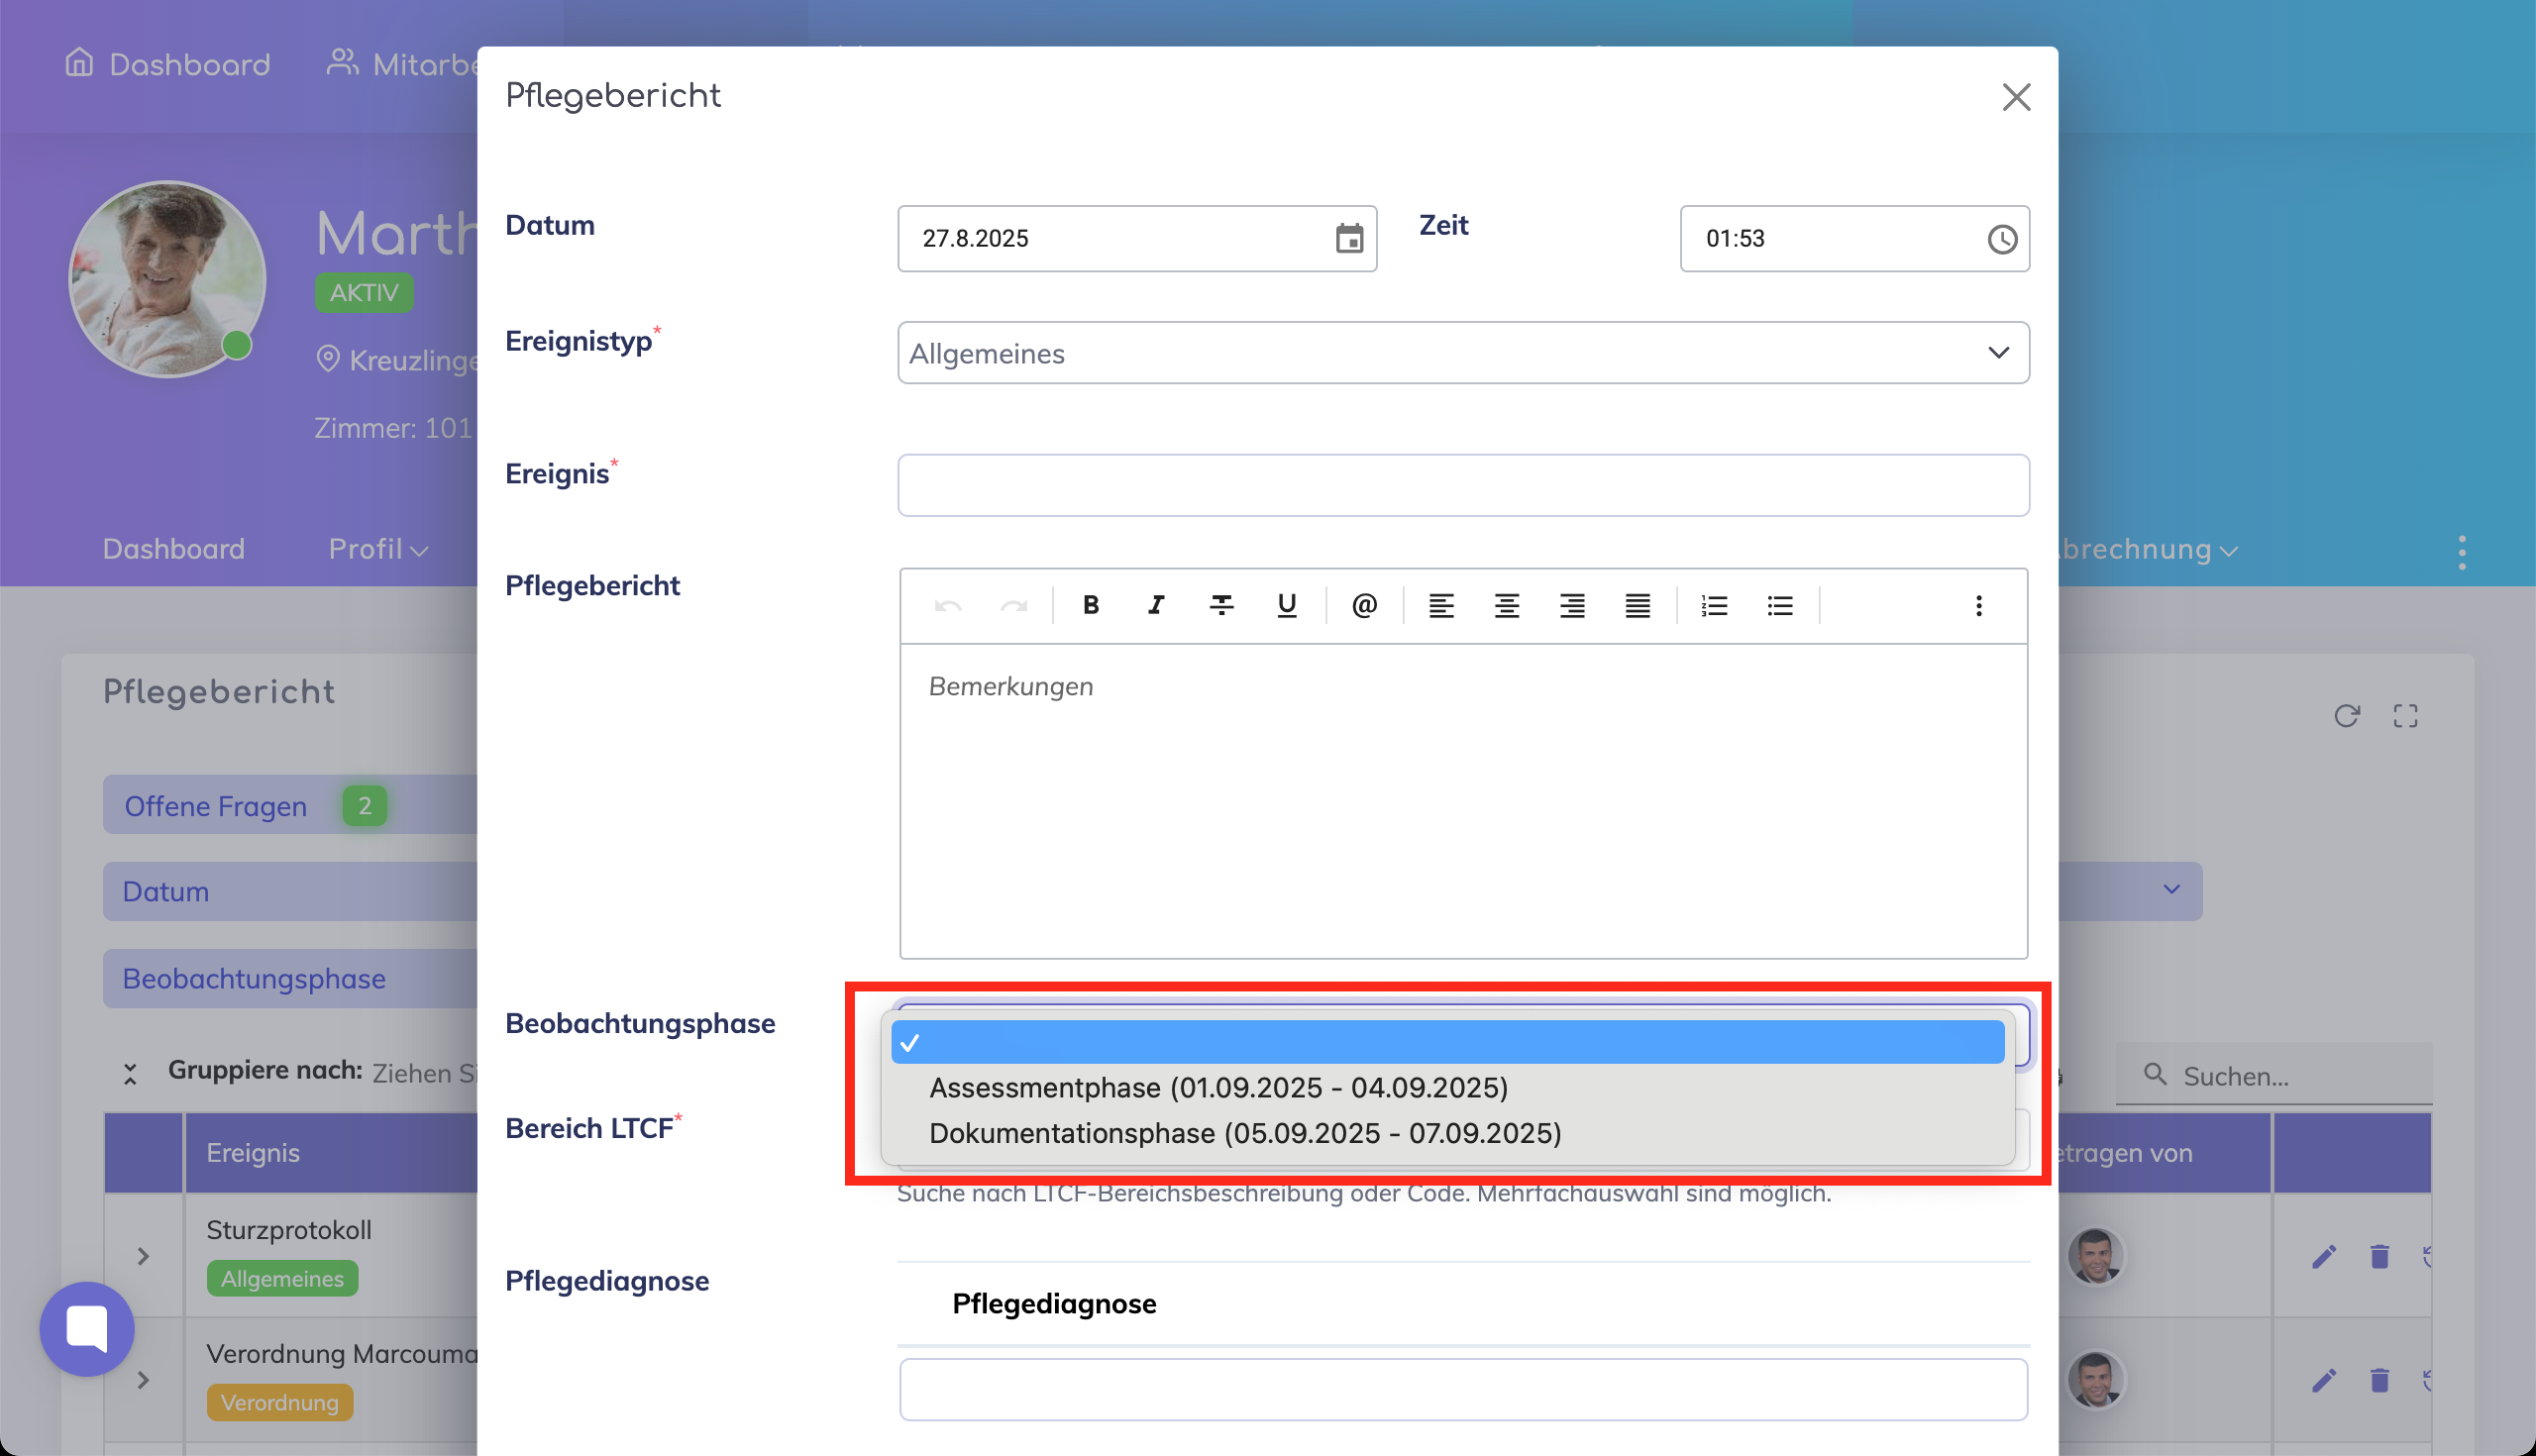
To view the Phase details, click on the Observation Phase button, and select Settings.
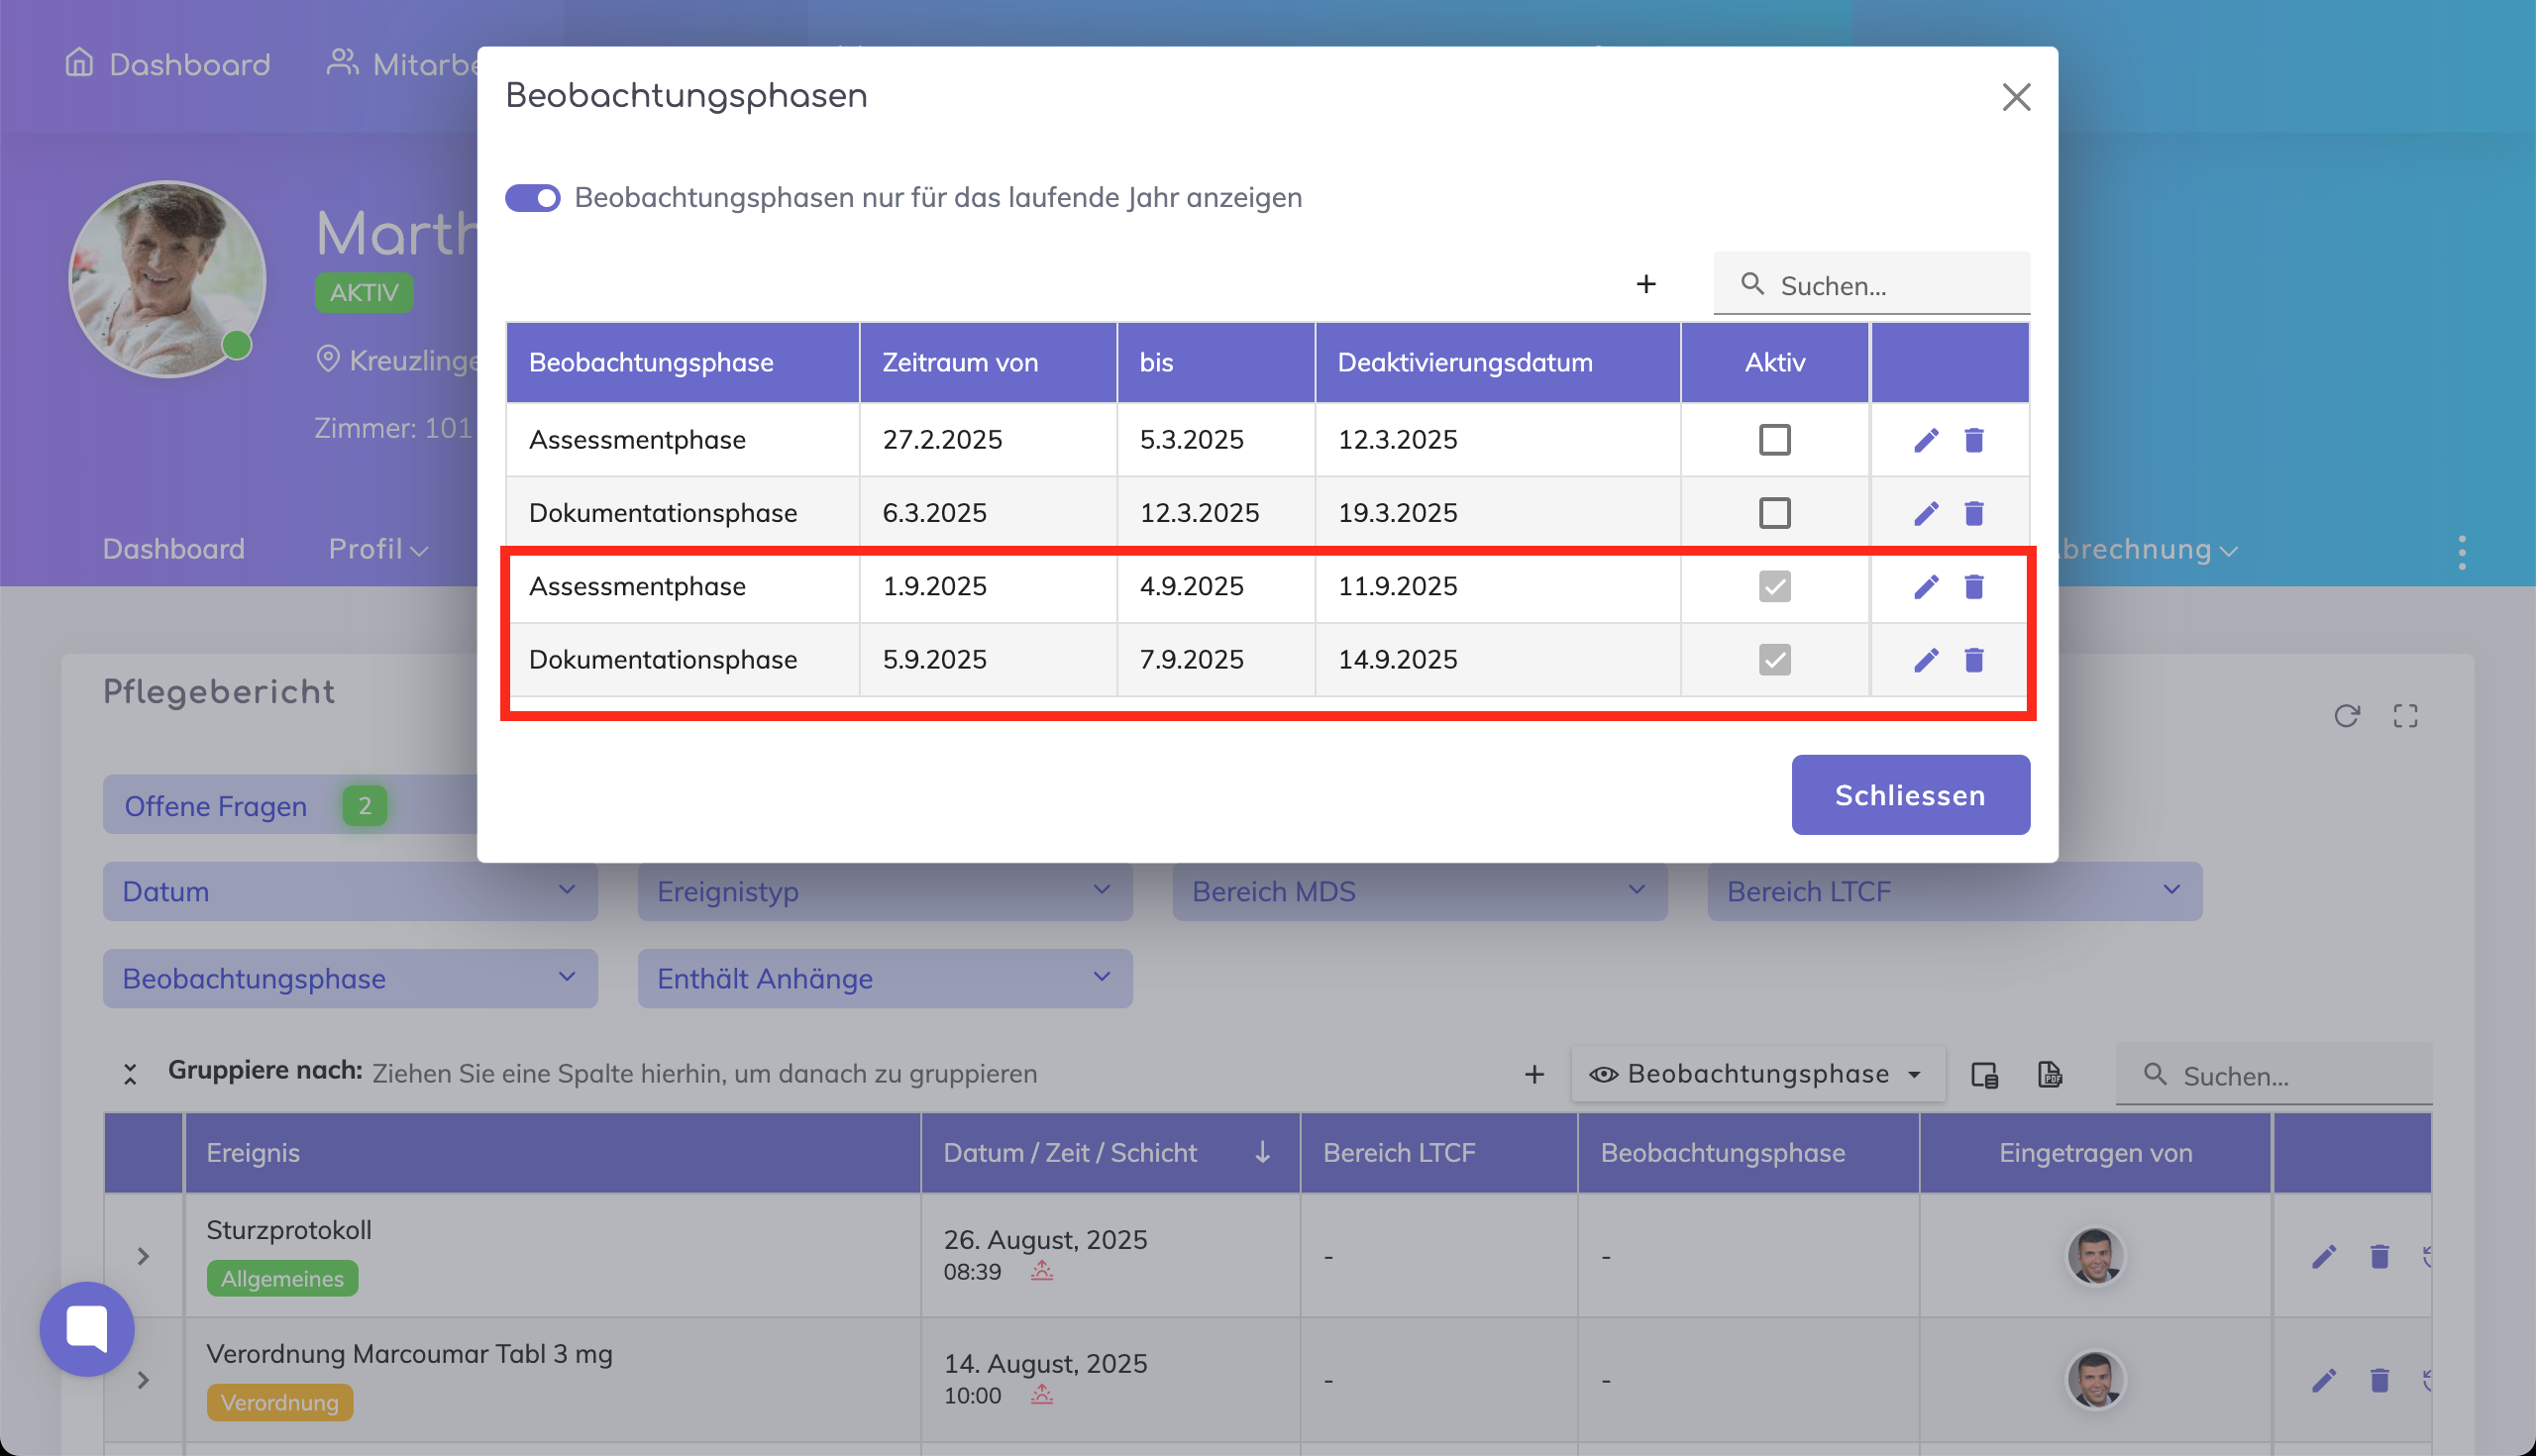
The recently created phases as well as previously created phases for this resident appear here. From this window, it is also possible to manually create the Observation Phases.

The Resident List shows whether the resident is currently in an Observation Phase or if one is planned to start in the future.
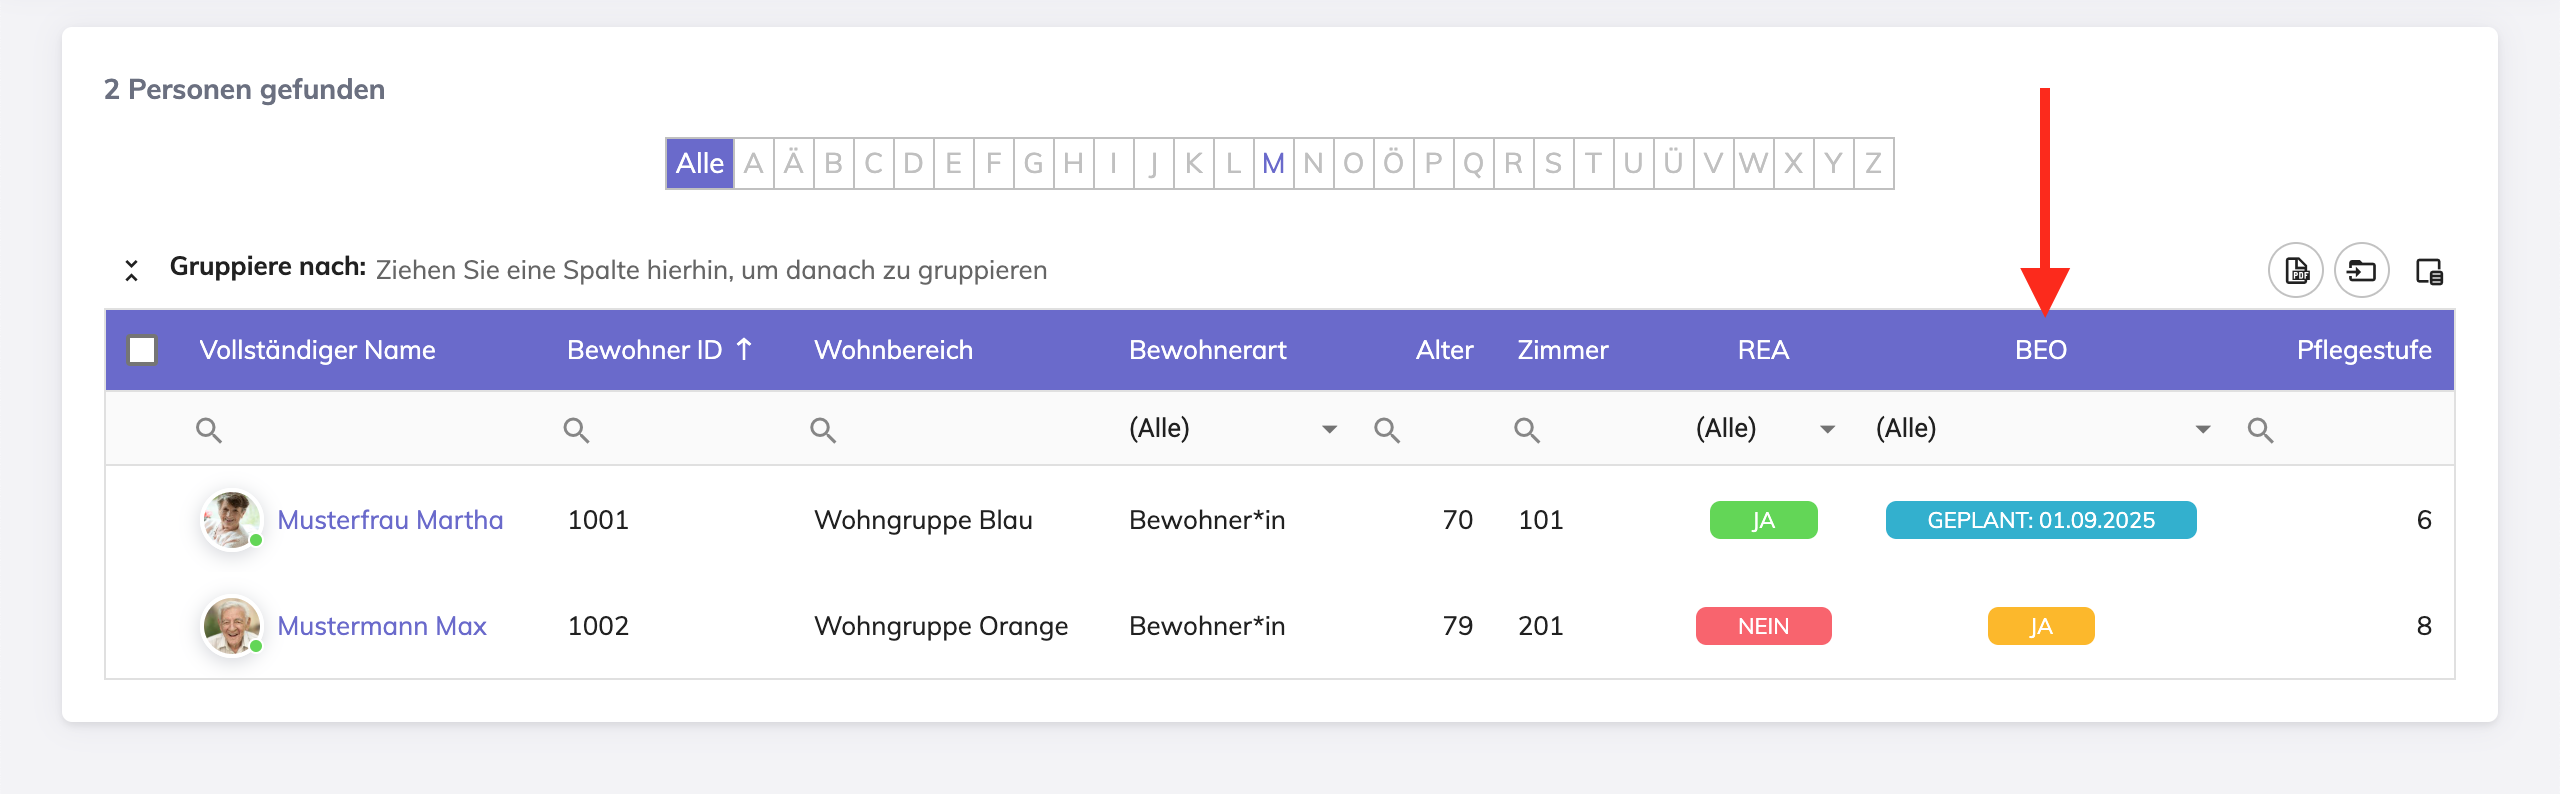
The status updates automatically once the start date is reached.
Caregivers in the relevant department receive reminder notifications before the start date to ensure they are prepared.
Notifications can be configured flexibly to be sent to caregivers any number of days before the start date.
Observation Phases can be setup in the System Configuration by Administrators.
Still got questions? We’re here to help. Please feel free to contact us.